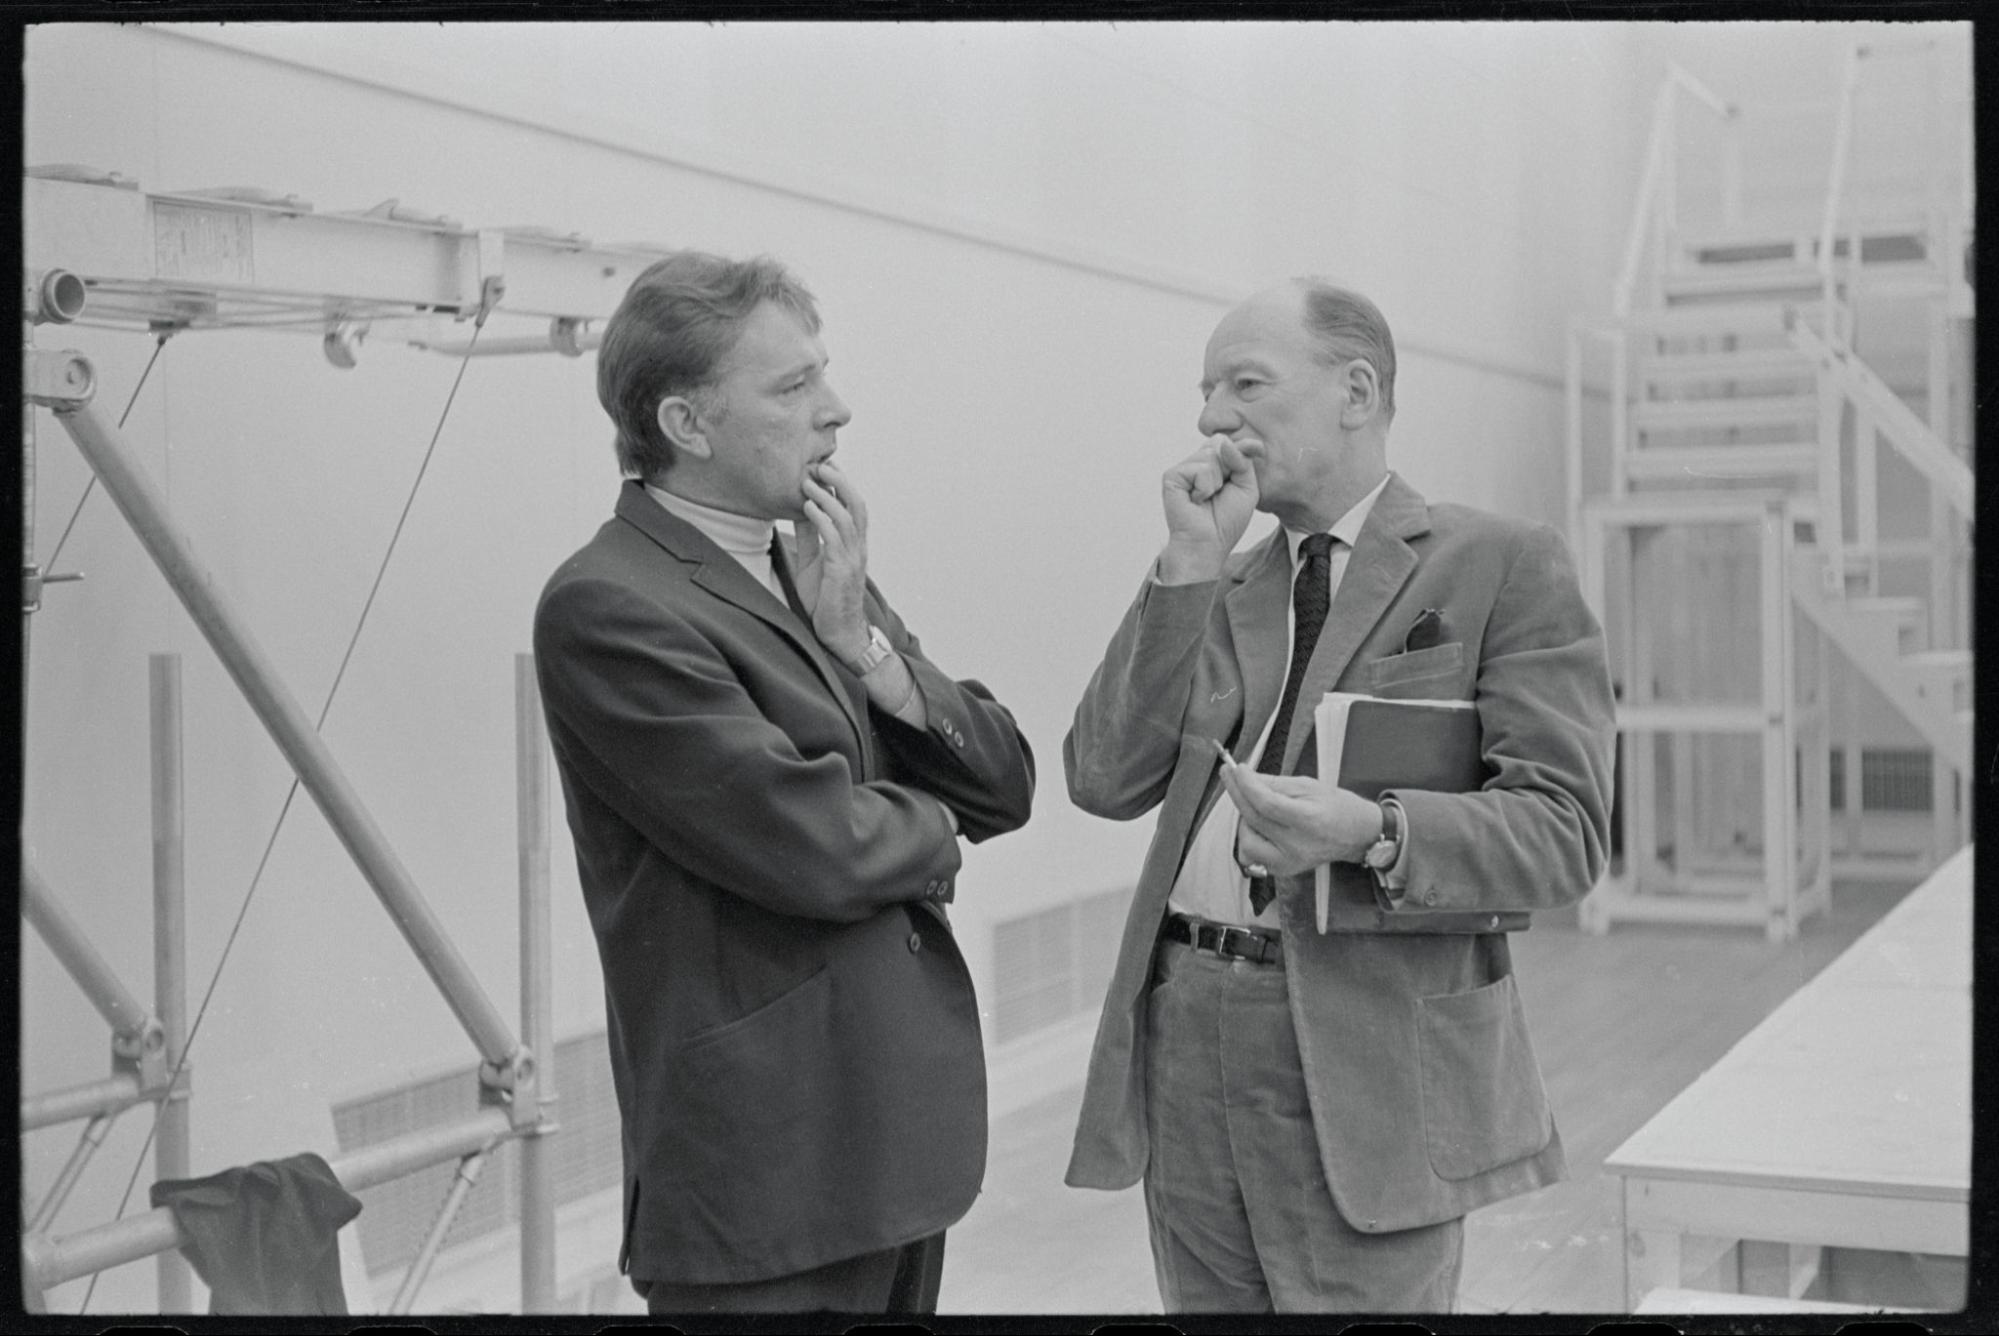
Procedural Guide for Transmissive Digitization
This guide outlines the standard procedures for digitizing transmissive materials, including color transparencies (slides and film) and black & white negatives, adhering to industry best practices.
General Setup and Pre-flight Procedures
Before you begin any digitization project, perform these essential steps:
Monitor Warm-up: Allow your monitor and light(s) to warm up for approximately 5 minutes before you start capturing images.
Maintain a Clean Environment: Keep your workspace as dust-free as possible. Dust can significantly impact image quality and require extensive post-processing.
Camera Alignment: Always verify camera alignment with a laser level whenever you change a lens or add extension tubes. This is crucial for maintaining image sharpness and geometric accuracy.
- When transitioning from a reflective setup to transmissive, confirm the camera lens is perfectly parallel to the Transmissive Stage Top using the Versalab Laser Alignment Tool. Use the appropriate UV filter for your lens (46mm for 120mm lens, 77mm for 72mm MKII lens).
Lens Changes: If you change lenses, power cycle the camera (turn off, wait 30 seconds, then turn back on) to ensure Capture One recognizes the new lens.
Focus Reset: The camera automatically resets focus when a Capture One session is closed or the camera is unplugged. You only need to “recalibrate” the column if its power is turned off; otherwise, simply refocus at the start of each session.
Stage Assembly: Install the DT Photon light panel and Film Scanning stage within the DT Atom stage before the stage top is installed.
Power On: Turn on the DT Atom camera back power and the Photon light. Ensure the Photon light is set to “continuous” lighting mode.
1. Transmissive Digitization - Color
1.1 Material Preparation
Material Orientation: Orient your transparency sheets with any punched holes on the left side (if applicable) and the production title legible. Begin image capture from the top left, moving to the right, then down.
Emulsion Side Down: Always load color positives (slides/transparencies) with the emulsion side down.
- The emulsion side typically has a more matte surface and a raised/relief texture from the processed color layers.
- The base side will appear shiny.
- Any text within the image should read correctly when the emulsion side is facing down.
Vertical Orientation for Consistency: When digitizing vertical images, load them with the top of the image on the left side. This ensures consistent bulk rotation during post-processing.
Re-sleeving: Re-sleeve the transparencies in the same order they were captured, maintaining the emulsion-side-down orientation.
Capture Quantity: Confirm the final capture quantity matches your project requirements.
Tracking: Consider using a star rating (e.g., 5 stars) to mark the start of each sheet. This helps align your capture count with the physical material.
1.2 Capture Setup & Camera Settings
Refer to the table in Section 1.4 for specific lens, extension, column height, and crop size recommendations based on film format.
Select Lens & Extension: Choose the appropriate lens and extension tubes as specified in the table for your film format.
ISO & Aperture:
- ISO: 50
- Aperture: F9
Shutter Speed: This will vary based on film format and density.
- For 35mm film at 4300ppi, it’s typically around 1/40th sec, but can range from 1/30th to 1/3 second.
- Optimal shutter speed for highlight control is often 1/30s or 1/20s.
Process Recipes: Set process recipes to U Files (Adobe RGB) 16bit.
Camera Position & Focus:
- In the Copy Stand tool, enter the column height starting position (e.g., 57.45 cm for 35mm) and click “Move.”
- In the Camera Focus tool, enter the desired “Target” Resolution [PPI] (e.g., 4300ppi for 35mm).
- Capture an IT8 target of the same format for initial focus.
- Open Live View and examine the image at 100%. Use the Copy Stand floating tool to fine-tune focus with small incremental movements. You can use the “Pick focus area” tool and Auto Focus (AF) for an initial focus point. Hold ALT for “fine” focus adjustments.
- Close Live View and capture an image to assess focus. Ensure focus is balanced and film grain is clearly visible. Fine-tune as needed. Be mindful of motion blur with shutter speeds slower than 1/20s.
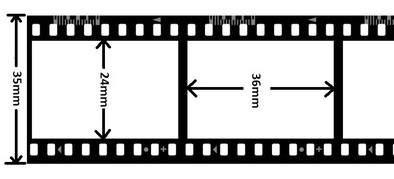
- Measure PPI using the Capture Resolution Ruler (set the length to the appropriate film dimension, e.g., 35mm for 35mm slides).
Base Characteristics:
- Mode: Photography
- ICC Profile: Phase One iXG NYPL_Bay3_DTPhoton_201912 (or the most recent profile).
- Curve: Start with Linear Scientific, then switch to Linear Response after creating your LCC.
- Engine: Capture One 20/21.
Sharpening: Set to: Amount = 100, Radius = 1, Threshold = 0, Halo = 0.
Noise Reduction: Set to: Luminance = 0, Details = 50, Color = 40, Single Pixel = 0.
Capture LCC Raw File:
- Remove any film or film holder from the stage.
- Capture an LCC image directly off the Photon light source (do NOT use Plexiglass).
- Expose for a mid-gray value, keeping the aperture at F9 and adjusting the shutter speed. The LCC RGB value for transmissive material should be around 140 (+/- 10).
Apply LCC Preset: Apply the preset appropriate for your film format size, e.g., LCC_35mm_F9_4300ppi.
White Balance:
- With film removed, create a capture and expose for mid-gray (e.g., 1/100th at F9).
- White balance off the Photon light source in the center of the frame.
- Default Kelvin: 5296, Tint: 8.3.
Set Base Exposure:
- With film removed, create a capture. Adjust the shutter speed (typically 1/40th sec for 35mm/4300ppi) until the exposure reading off the Photon light source reaches 243 in at least one RGB channel, without exceeding 243 in any channel.
- It’s generally better to set the shutter speed to be slightly underexposed (under 243) and then adjust exposure up, rather than overexposing.
- Fine-tune with minimal “Exposure” tool adjustment if needed.
- Exposure Philosophy: Expose for the highlights, and develop for the shadows. Optimal shutter speed for highlight control is 1/30s or 1/20s.
- Highlight/Shadow Aims: Highlights: 245 (+/- 5); Shadows: 10 (+/- 5).
Adjust Shadow Detail (HDR Tool):
- Adjust as needed per set or film stock.
- Shadow: 40 (maximum), Black: 5 (maximum).
- Shadow Density Threshold: Minimum 10 (+/-3). Do not go below 7 in any RGB channel.
- Note that some film may not require much or any shadow recovery (e.g., 5 to 10), while others, like Kodachrome, may need more (e.g., 15 to 25).
Next Capture Adjustments: Set to [Other > Copy From Last].
First Capture & Crop:
- Capture the first transparency of the session.
- Set the initial crop (e.g., approximately 3750 x 5560 pixels for 35mm slides).
- Add an inner crop to assess the histogram and check for highlight/shadow clipping. Center and align this inner crop during capture to save time during processing.
1.3 Processing Instructions
Batch Capture: Once settings are finalized, capture all transparencies within the project that share similar characteristics. As you capture, regularly check for motion blur, focus, and capture density.
Vertical Image Tagging: Tag vertical captures (e.g., with a green color tag) for easy “Sort By Same” for bulk rotation later.
Final Capture Count: Confirm the ending capture quantity matches your project requirements.
Review and Adjust: Confirm the number of captures for each folder, and check for duplicates and focus issues. Make any minor adjustments to exposure and HDR settings to match the physical transparencies and ensure no clipping in highlights or shadows.
Expand Inner Crop: For both U and S files, expand the inner crop height and width. Use Scripts > Crop Tools > Set Height and Width.
- For 35mm transparencies: U & S files should be approximately 4300 x 6100 pixels.
Process Files: Process both U and S files simultaneously if desired, as they use the same crop. U Files should be Adobe RGB 16bit.
1.4 Lens, Extension, Column Height, PPI, and Crop Sizes for Color Transmissive Digitization
| Film Format | Lens & Extension Tube | Column Height Approx. Position (cm) | Approx. PPI (+/- 50ppi) | Approx. U & S Crop Sizes |
|---|---|---|---|---|
| 35mm slides | 120mm (w/ 40mm + 20mm) | 57.45 cm | 4300 +/- | Same size for U & S files: 4300 x 6100 pixels |
| 35mm strip film / microfilm | 120mm (w/ 40mm + 20mm) | 57.45 cm | 4300 +/- | U file: 5050 x 8500 pixels, S file: 4230 x 6330 pixels |
| Medium format (use 8x10” ANR glass holder) | 120mm (w/ 20mm) | 64 cm | 2500 +/- | U file: 6700 x 8000 pixels, S file: 5700 x 5700 pixels |
| 4x5 sheet film (use 8x10” ANR glass holder) | 120mm | 75.5 cm | 1725 +/- | Same size for U & S files: 5600 x 7000 pixels |
| 5x7 sheet film (use 8x10” ANR glass holder) | 72mm MKII (no extension) | 57.13 cm | 1255 +/- | Same size for U & S files: 6300 x 8900 pixels |
| 8x10 sheet film (use 8x10” ANR glass holder) | 72mm MKII | 70 cm | 890 +/- | Same size for U & S files: 7100 x 8900 pixels |
2. Transmissive Digitization - Black & White
2.1 Material Preparation
Emulsion Side Down: Always load black & white negatives with the emulsion side down.
- The emulsion side has a more matte surface and a texture from the build-up of silver after processing.
- The base side will appear shiny.
- Any text within the film should read correctly when the emulsion side is facing down.
Re-sleeving: Re-sleeve the film in the same order it was captured, ensuring consistency with any existing item-level descriptions.
Tracking: Consider tagging the start of each sheet with a color or star rating to help track negative count and capture count alignment. Renaming captures after each sheet is also recommended.
2.2 Workflow Summary
Refer to the table in Section 2.4 for specific lens, extension, column height, and crop size recommendations based on film format.
Select Lens & Extension: Choose the appropriate lens and extension tubes as specified in the table for your film format.
ISO & Aperture:
- ISO: 50
- Aperture: F9
Shutter Speed: This will vary based on film format and density.
- For 35mm film at 4300ppi, it’s typically around 1/20th sec. This speed will vary with different film formats and lens/extension use.
Process Recipes: Set process recipes to U Files (Gray Gamma 2.2) 16bit.
Camera Position & Focus:
- In the Copy Stand tool, enter the column height starting position based on format (e.g., 57.45 cm for 35mm) and click “Move.”
- In the Camera Focus tool, enter the desired “Target” Resolution PPI (e.g., 4300ppi for 35mm).
- Capture the first negative (or an ISA 35mm B&W negative target) for initial focus.
- Open Live View, activate the grid, and center the camera with the film holder and Photon light. Adjust staging blades as needed.
- Within Live View at 100%, use the Copy Stand floating tool to fine-tune focus with small incremental movements.
- Close Live View and capture an image to assess focus. Ensure focus is balanced and film grain is clearly visible. Fine-tune as needed.
- Measure PPI using the Capture Resolution Ruler:
- For 35mm: Set length to 36mm for the long side; resolution will be approximately 4300ppi (+/-).
- For 120/medium format: Set length to 60mm for the width; resolution will be approximately 2500ppi (+/-) with an ANR glass carrier.
- For 4x5" sheet film: Set length to 4.9" for the long dimension; resolution will be approximately 1755ppi with an ANR glass carrier.
Base Characteristics:
- Mode: Photography
- ICC Profile: Phase One iXG NYPL_Bay3_DTPhoton_201912.
- Curve: Linear Scientific.
Sharpening: Set to: Amount = 100, Radius = 1, Threshold = 0, Halo = 0.
Noise Reduction: Set to: Luminance = 0, Details = 50, Color = 40, Single Pixel = 0.
Capture LCC Raw File:
- Remove any film or film holder.
- Capture an LCC image directly off the Photon light source (do NOT use Plexiglass).
- Expose for a mid-gray value, keeping the aperture at F9 and adjusting shutter speed to achieve an approximate RGB value in the range of 170-200.
Apply LCC Preset: Apply the preset appropriate for your film format size, e.g., LCC_35mm_F9_4300ppi.
Capture Raw File & Set White Balance:
- With film removed, create a capture and expose for mid-gray (keeping aperture at F9 and adjusting shutter speed to meet an approximate RGB value in the range of 170-200).
- White balance off the Photon light source in the center of the frame.
Set Base Exposure Off the Negative’s Film Base:
- Create a capture. Adjust the shutter speed (approximately 1/20th sec for 35mm/4300ppi) until the exposure reading off the negative’s unexposed film base reaches 235 in at least one RGB channel, without exceeding 235 in any channel.
- It’s always better to set the shutter speed to be slightly underexposed (under 235) rather than overexposed.
- Fine-tune with minimal “Exposure” tool adjustment if needed.
- This base exposure should provide a good starting point for well-exposed and processed film negatives without clipping highlight or shadow details.
- Highlight/Shadow Tolerance (Gray Gamma 2.2): Ideally, shadows should not be less than 10 RGB, and highlights not more than 245 RGB.
Apply Levels Preset: Use BWINVERSION.
Apply Curves Preset: Use B&W_midtone_adjust.
First Capture & Crop:
- Capture the first negative of the session.
- Set the S file crop:
- For 35mm negatives: approximately 4230 x 6330 pixels.
- For 120mm square negatives: approximately 5700 x 5700 pixels.
- For 4x5", 5x7", and 8x10" negatives: U & S files can be the same size, showing beyond the edges of the film as shot using the ANR Glass Holder.
Next Capture Adjustments: Set to [Other > Copy From Last].
2.3 Processing Instructions
Batch Capture: Capture all negatives within the project that are the same size and have similar densities.
- One efficient workflow is to capture an entire sheet or roll (e.g., 36 exposures for a 35mm roll, 12 for 120mm square film).
- After capturing, review and adjust exposure as needed for very dense or overexposed negatives, or for highlight details nearing a 245 reading.
Highlight/Shadow Adjustment (HDR Tool - Reversed for Negatives):
- You may need to correct for dense areas or specular highlights after the initial film base exposure aim of 235 (+/-).
- Shadow Adjustment: In the HDR tool, “Shadow” adjusts for the densest areas of the film (which become highlights in the positive image). Aim for highlights not to be above 245; visible grain should be present in highlight areas.
- Highlight Adjustment: “Highlight” adjusts for the thinnest areas of the film (which become shadows in the positive image). Aim for shadows not to be below 10.
- Important: ONLY use HDR - Shadow recovery to bring in dense areas or specular highlight details when truly necessary; overdoing it will flatten the image. Very dense negatives may also require a slight increase to overall exposure.
Vertical Image Tagging: Tag vertical captures (e.g., with green or yellow tags) for easy “Sort By Same” for bulk rotation.
Final Capture Count: Confirm the ending capture quantity matches your project requirements.
Create Clone Variant: Create a clone variant for all adjusted and centered S file crops.
Expand Inner Crop for U File Output: Use Scripts > Crop Tools > Set Height and Width.
- For 35mm negatives: approximately 5050 x 8500 pixels.
- For 120mm square negatives: approximately 6700 x 8000 pixels.
- For 4x5", 5x7", and 8x10" negatives: U & S files can be the same size, showing beyond the edges of the film as shot using the ANR Glass Holder.
Bulk Rotate: Bulk rotate all vertical captures.
Process Files:
- U Files: Gray Gamma 2.2, 16bit.
- S Files: Gray Gamma 2.2, 8bit.
2.4 Lens, Extension, Column Height, PPI, and Crop Sizes for B&W Transmissive Digitization
| Film Format | Lens & Extension Tube | Column Height Approx. Position (cm) | Approx. PPI (+/- 50ppi) | Approx. U & S Crop Sizes |
|---|---|---|---|---|
| 35mm strip film / microfilm | 120mm (w/ 40mm + 20mm) | 57.45 cm | 4300 +/- | U file: 5050 x 8500 pixels, S file: 4230 x 6330 pixels |
| 35mm slides | 120mm (w/ 40mm + 20mm) | 57.45 cm | 4300 +/- | Same size for U & S files: 4300 x 6100 pixels |
| Medium format (use 8x10” ANR glass holder) | 120mm (w/ 20mm) | 64 cm | 2500 +/- | U file: 6700 x 8000 pixels, S file: 5700 x 5700 pixels |
| 4x5 sheet film (use 8x10” ANR glass holder) | 120mm | 75.5 cm | 1725 +/- | Same size for U & S files: 5600 x 7000 pixels |
| 5x7 sheet film (use 8x10” ANR glass holder) | 72mm MKII (no extension) | 57.13 cm | 1255 +/- | Same size for U & S files: 6300 x 8900 pixels |
| 8x10 sheet film (use 8x10” ANR glass holder) | 72mm MKII | 70 cm | 890 +/- | Same size for U & S files: 7100 x 8900 pixels |
Different Crops for Different Formats
preservation (u) crop
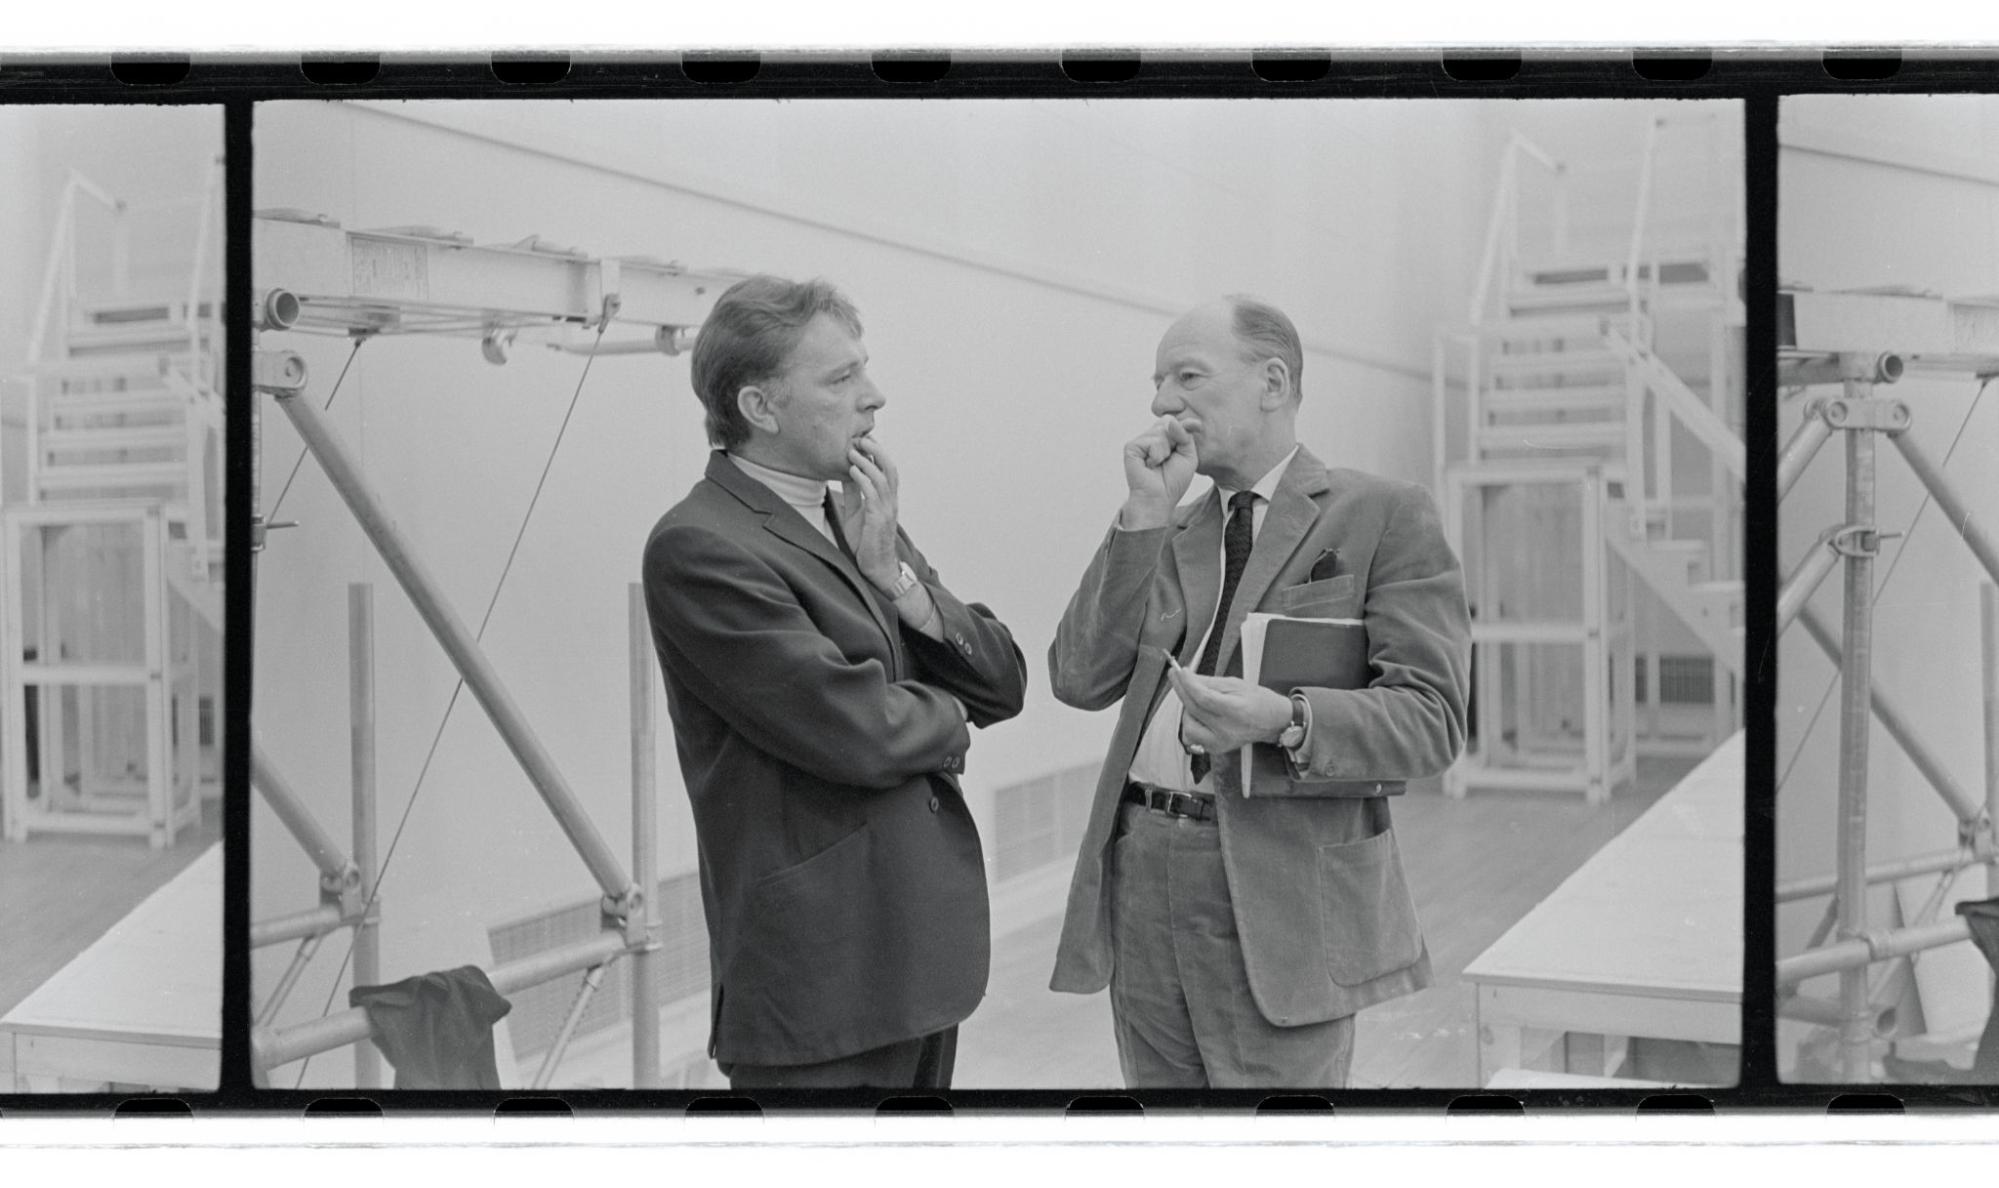
service (s) crop